Climbing and Avalanche Education

Gran Paradiso Digital Map

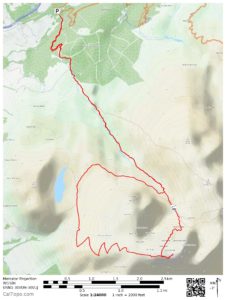
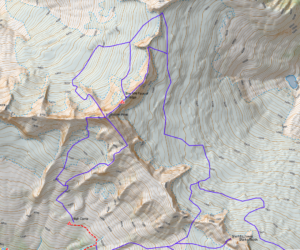
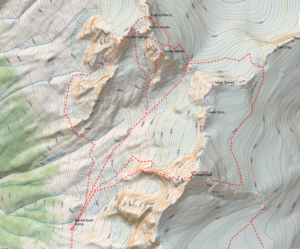
The first time I guided the Gran Paradiso I was surprised at the maps I could get. I couldn’t find any digital maps of the area beyond the TF Outdoors layer you find in Caltopo and other apps, and the paper maps were vague. One of the things I wanted to do as I learn to make maps is to work on areas that are not very well covered. My goal is to progress in the quality so if I start with areas that are poorly covered my early maps might still be useful. I also wanted to pick areas that get a fair amount of traffic so the Gran Paradiso fit that bill.  The map is still a work in progress but I have made some advancements since my last post on maps. I am now not just able to put a map on Caltopo but I am putting layers on so I can adjust the opacity to create the look that best suits the needs of the user. Below is a video I made to show you the result. My next goal will be to configure an off site server that is more permanent than my current system which should speed up the rendering and make the layers available all the time.


Posted by Marc Chauvin in Climbing and Avalanche Education, Maps

Ben Macdui via Faicaill Ridge Scramble with a Descent into Lairig Ghru

During my vacation to Scotland with my wife Jane, I took a day to do a little solo mission.  We had been hiking and climbing a lot and the weather was marginal with wind in the forecast.  Jane decided to take the train to Inverness while I went on a hike with a short scramble in the Cairngorm. I wanted to do the Faicaill scramble and summit Scotland’s 2nd highest summit, Ben Macdui.  The night before a friend had commented on Facebook that we should try to get into a picturesque valley to the west of Ben Macdui called Lairig Ghru.  The problem was there was no trail down from Ben Macdui to the valley. After a little research and a short discussion with someone at Glenmore Lodge it seemed going “cross country” down was reasonable. Below is a video of my route I made on Google Earth with a .kmz map overlay of the area. At the end of this post there is the .gpx .kmz and .kml files and a geopdf of the route.
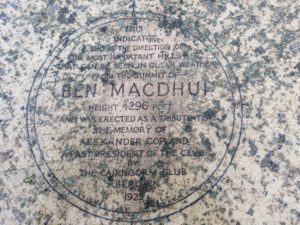


Here is a profile of the route
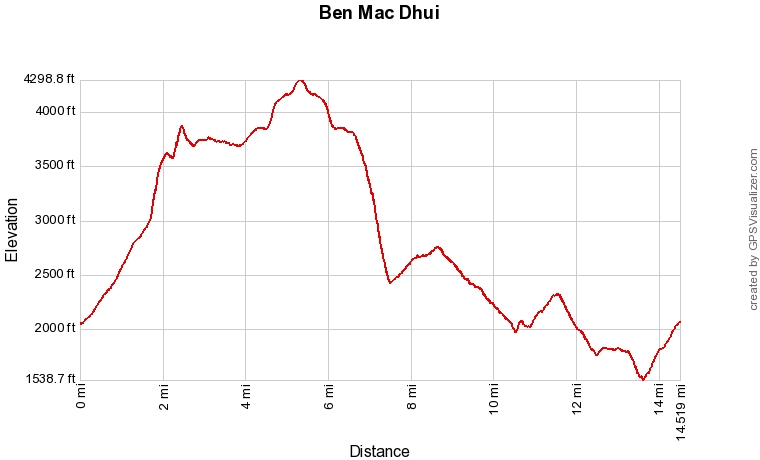
The route starts at the ski area and heads toward the Coire an t-Sneachda, a ravine on the side of Cairn Gorm. From partway into the coire I headed up toward the ridge. Again, some info I got at the Glenmore Lodge helped here as they told me about a short scramble getting up to the ridge that made gaining it more fun, it is a variation to the Faicaill called the Twin Ribs. From there I hit the main scramble, below is a picture of the Faicaill.
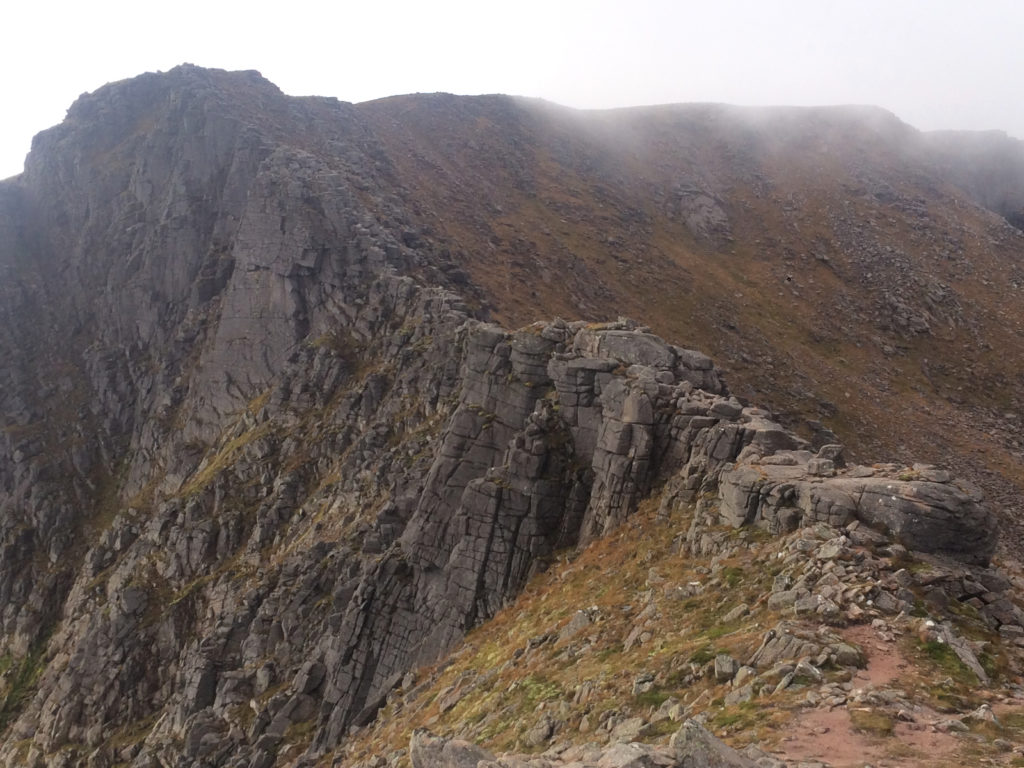
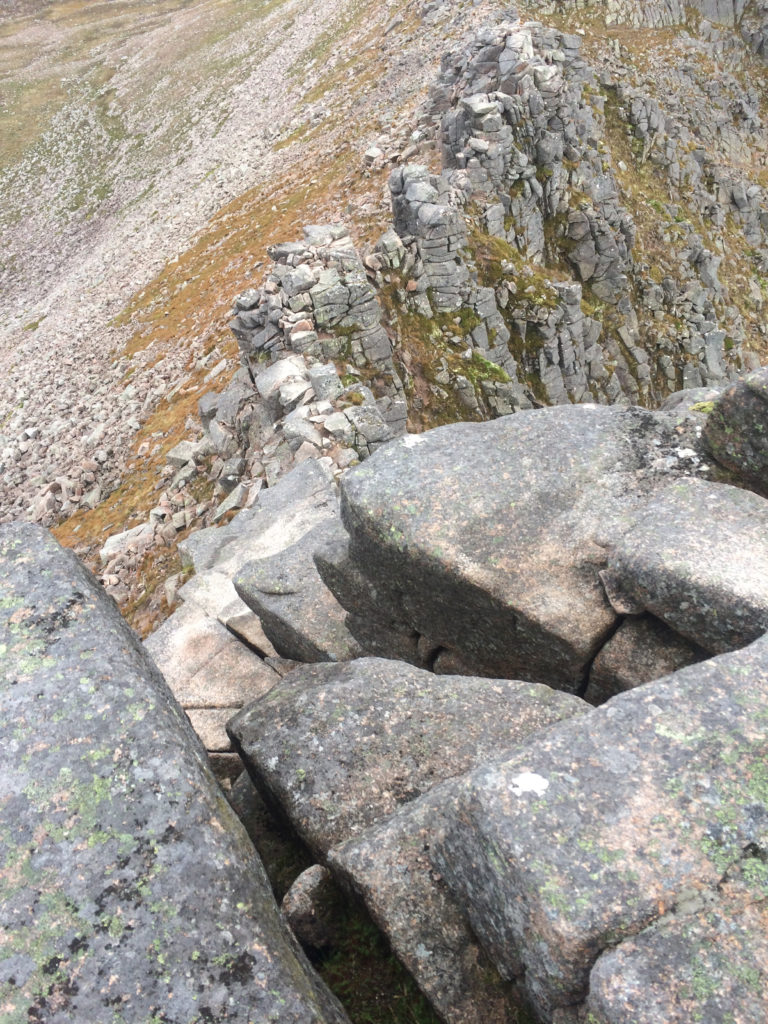
The scramble was short and pretty easy, I’d rate it mostly 3rd class with a short section of 4th class. Below is a picture looking down the crux.
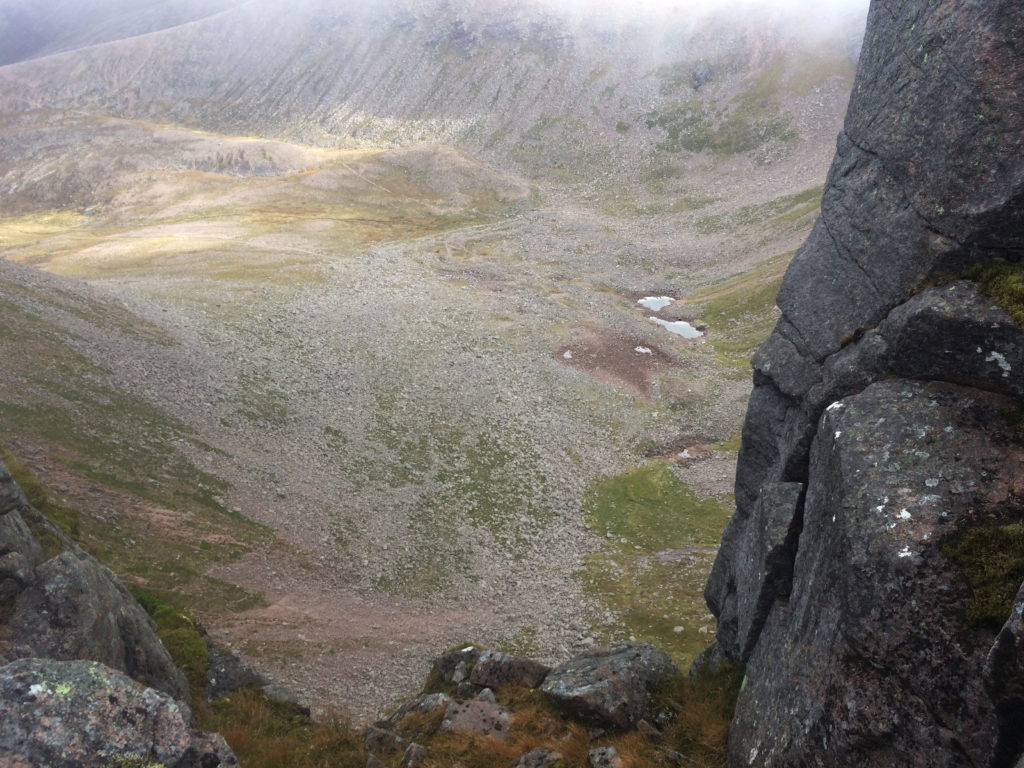
Looking from the ridge into the Coire an t-Sneachda.
Once at the top of the scramble the trail to Ben Macdui is pretty straightforward. Having said that it is on a very nondescript plateau feature which was in the fog as I walked it.  The trails are pretty well worn but there are no trail signs that I saw.  On my way I saw two groups going the other way both of which asked me to confirm that they were headed toward the ski area.  Having made a map that was geo-referenced on my phone gave me the confidence and simplified my navigation allowing me to move quickly through the terrain.  In no time I found myself at the top of Ben Macdui.
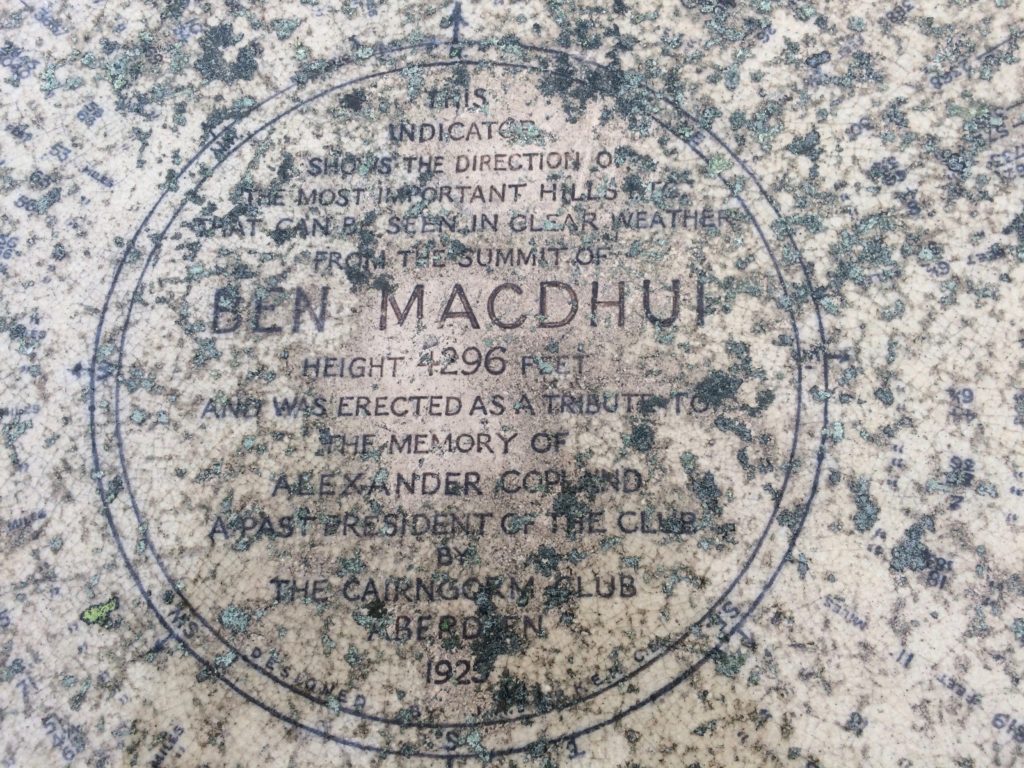
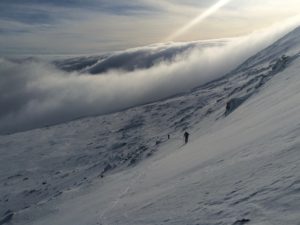
From the top of Ben Macdui I backtracked a little over a mile to where the track splits.  This junction was very hard to see if you weren’t paying attention and knew from the map that the trail spilt. I had heard that the Cairngorm can be a navigation challenge particularly in winter when the trails would be invisible and the fog created a true whiteout. Even in the summer it shouldn’t be taken lightly in a fog. At the split I started to head on my cross country section and in a few minutes I dropped below the fog and got a view of Lairig Ghru. Below is a picture looking south as I descended out of the clouds.

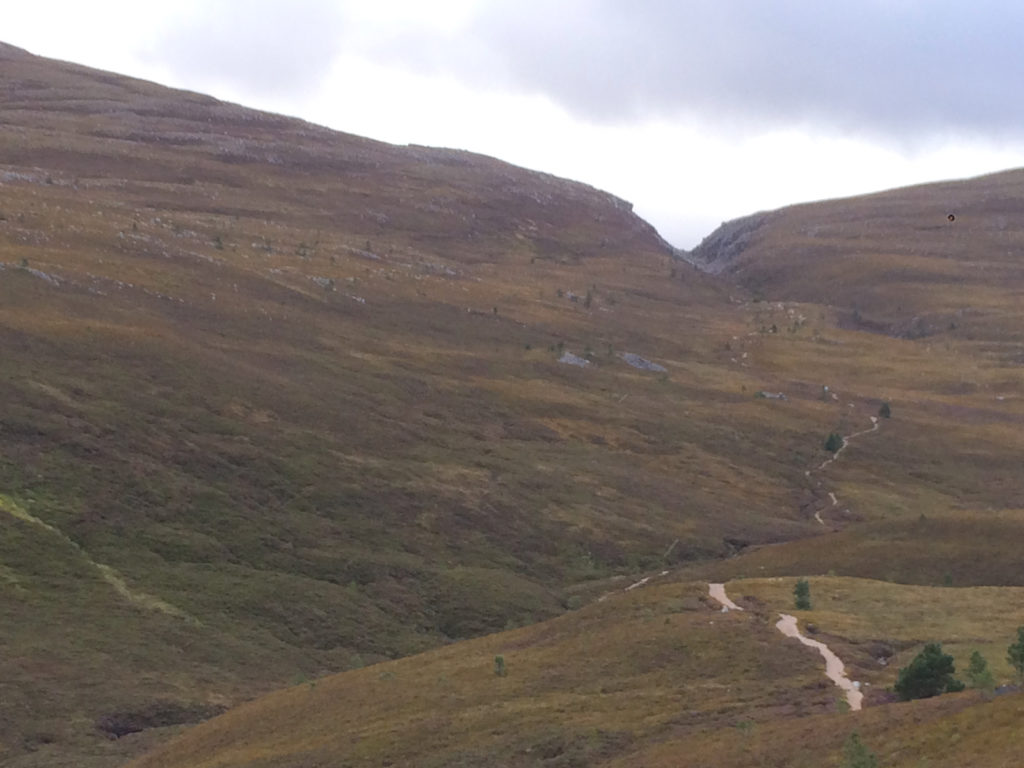
The cross country descent was reasonable consisting of a steep grass and heather slope. The going was slow as I picked my way down and my knees felt the descent but otherwise it was uneventful.  The views of the valley were spectacular and although I saw a party in the valley as I descended they were gone once I got to the bottom, I had the Lairig Ghru to myself.  At the base of the valley was a good trail but I was still more than 7 miles away from the car.

From the valley the walking is pleasant with not too many ups or downs. You climb a bit getting out of the valley then make your way to the Chalamain Gap. After the gap the trail gets much better as it makes its way back to the carpark.  Below is a picture looking back toward Chalamain Gap about a mile from the car.
As promised here is the navigation data for the trip.
.KMZ File
.KML File
Ben-Macdui GPX (Some browsers add a .xml extension, delete the .xml leaving only the .gpx extension before saving)


Click picture for geopdf

Posted by Marc Chauvin in Climbing and Avalanche Education, Maps

Ben Nevis via Tower Ridge

My wife Jane and I went to Scotland for a vacation and we had the luck of having two really good weather days in Fort William. We used that luck to climb the classic Tower Ridge on the North side of Ben Nevis. This is a classic hard scramble/climb.  The ridge straddles the line between a scramble and a climb, I would rate it about 5.2/5.3 and alpine grade II. For those familiar with Cascade Routes it’s harder than the chimney section of the Fisher Chimneys but easier than the West Ridge of Forbidden. I carried a light rack of 3 Tri Cams (.5-2), 6 nuts, a few slings, a cordellette, and a few locking carabiners.  I took a 40m rope but a 20m/30m would have been fine but might have made retreat difficult. In the end I used only 3 placements as I was able to use horns the whole way and although I might still bring a light rack if I were to guide it the horns on the route could be used exclusively with a good eye for the terrain.

Here is a video I took of the ridge from the summit.

Of course I also have all the navigation data that you can download. Here is another video of a map overlaid on Google Earth using the .kmz file that you can download below.


Now for the navigation files:

Click for the data you want
.GEOPDF

.KML File

Tower Ridge GPX
(Some browsers add a .xml extension, delete the .xml leaving only the .gpx extension before saving)

.KMZ File

Jane halfway up the Tower Ridge on Ben Nevis

Posted by Marc Chauvin in Climbing and Avalanche Education, Maps

Forbidden

I guess I should start with a warning, the routes below might have errors and does not replace good route finding skills. Use at your own risk.

The Mount Forbidden area of the North Cascades is home to one of the 50 Classic Climbs of North America, the West Ridge. That by itself would make the area special but with Forbidden it is just the beginning. All the ridges are spectacular and arguably the North Ridge is as good or better particularly with the start up the Northwest Face of the North Ridge which adds an alpine ice face to a classic ridge.  I have been fortunate to have climbed these routes many times over the years and that familiarity inspired me to make a map of the routes.

One route I never was able to do because of the time of year I was there was Mount Buckner’s North Face.  I got to the base once but was turned around by weather.  The route I have lined out is the one I had anticipated following since we had plans to do other routes in Boston Basin but I have not actually done that descent from Buckner.  All the other routes I have done and replicated on the map using my memory and by overlaying the map on Google Earth and drawing in the routes.

For those that know how to import a GEOpdf into their phones here is a GEOpdf  map.
Forbidden Map

For those that would like to overlay the map onto Google Earth here is a KMZ file.
Forbidden KMZ

For those who would like a KML or GPX file of the routes here they are.
Forbidden GPX (Some browsers add a .xml extension, delete the .xml leaving only the .gpx extension before saving)
Forbidden KML

I hope you enjoy the map and data.

Posted by Marc Chauvin in Climbing and Avalanche Education

Eldorado

I guess I should start with a warning, the routes below might have errors and does not replace good route finding skills. Use at your own risk.

Over the years I have had the opportunity to climb a number of routes in the North Cascades teaching AMGA Advanced Alpine Guide Courses and Exams.  One area that was particularly interesting was Mount Eldorado.  By its normal route, the East Ridge it is an easy to moderate alpine peak.  On the west side of the mountain however is the more remote Marble Basin.  From the Marble Basin you can approach the West Arete of Eldorado, Southwest Face of Early Morning Spire, and the Southwest Buttress of Dorado Needle.  These three routes alone make the area special but there are numerous other easier itineraries, in fact just getting into the Marble Basin is a worthwhile adventure.

I have put together a map of the routes I have used to approach, climb and descend the climbs in this area.  For those that know how to import a GEOpdf into their phones here is a GEOpdf  map.
Eldorado Map

For those that would like to overlay the map onto Google Earth here is a KMZ file.
Eldorado KMZ

For those who would like a KML or GPX file of the routes here they are
Eldorado GPX (Some browsers add a .xml extension, delete the .xml leaving only the .gpx extension before saving)
Eldorado KML

I hope you enjoy the map and data.

Posted by Marc Chauvin in Climbing and Avalanche Education, Maps

Chamonix – Zermatt Haute Route

I guess I should start with a warning, the plan below might have errors and does not replace good route finding skills. Use at your own risk.

At the beginning of this century I built a Haute Route Ski Tour plan that was passed around a lot amongst American Mountain Guides. Recently a guide asked me about it and that sparked me to modernize the “plan” using the new tools available.  I wanted it to be editable for those with the knowledge to do that, simple for those who aren’t as knowledgeable and as accurate as I could possibly make it.

My first problem was that Swiss maps are problematic to use in digital form so I had to figure out a way to get good maps into Caltopo.  That took awhile but I figured out a soulution albeit  a bit inelegant.  Once I had Swiss maps overlaid on Caltopo I created .KMZ files to overlay them on Google Earth.  That allowed me with the help of the “Historical Imagery” under “View” to see ski tracks on much of the route.  Using those tracks and my recollection of the route from having done it a number of times I drew in the route.  I then imported the route with variations into Caltopo and made three Geopdf’s.  By using only three that allows people to use the free version of Avenza PDF Maps for the entire trip and have the maps GPS enabled on your phone.

The three sections break out like this (click the link to open the GEOpdf)

So the pdf’s above can go into your phone into the Avenza app and you’ll have the maps GPS enabled on your phone with a blue dot where you are.

If you are more savvy and want to manipulate the data or download the tracks into a GPS device, below are the .GPX files
(Some browsers add a .xml extension, delete the .xml leaving only the .gpx extension before saving)

For those that need KML files of the routes (these go into Google Earth) here they are:

Next is the KMZ files that once downloaded when you click on them they will overlay the Swiss maps onto Google Earth.

Once you get the maps into Google Earth you can adjust the opacity like this:

Finally if you want to overlay the Swiss maps onto Caltopo here is the Caltopo GeoJSON file. Once you import this file into Caltopo you’ll have the geospatial images in Caltopo.  You should be in the vicinity of the Haute Route and using the TF Outdoors as the base map so you can easily locate the Geospatial Images.  The GeoJSON file below imports all the Geospatial images for the three sections of the Haute Route.

  • Haute Route GeoJSON
    (Some browsers add a .txt extension, delete the .txt leaving only the .json extension before saving)

This is the most modern, editable and simple system I could build.  If you are new to these tools these files will be a good way to learn how to manipulate and build your own digital plans. I did this on a rest day while it was raining in March.  Remember while you play with this data your not wasting time your doing your due diligence and planning for the Haute Route!


Posted by Marc Chauvin in Climbing and Avalanche Education, Maps

Only What Goes Up –– Can Ski Down

Imagine a person who had never seen anyone ski but had heard that skiing downhill was not only more efficient than walking, it IMG_2800was fun too. That person then got himself a pair of skis and went to the top of a ski area and tried skiing, again without any experience seeing someone ski. After many falls and struggles and likely long before reaching the bottom our imaginary person would be pretty convinced that skiing was not only inefficient but painful and no fun at all.

That story is an exaggeration of what I have seen about using skis to climb or as most call it skinning. Few people have had the benefit of seeing someone good at skiing uphill and there is a feedback loop that has happened that creates a false consensus that skinning is for nothing more than low angled trails in the woods. If you ever get to see large groups of people who are competent at skinning you would quickly realize steeper skinning isn’t inefficient you just have never seen it’s efficiency and haven’t worked at developing the technique.

Wow! I’m sure at this point some are offended but trust me that isn’t my goal. I really do not worry about people who would rather boot their way up a gully or run or belittle their opinion that they would rather boot. But if you want to take your backcountry skiing/ski mountaineering to the next level then understanding the importance of developing good uphill technique is likely your next step.

Let me continue with another story. When I first started skinning up to Tuckerman Ravine I was one of only a handful that skinned or used AT gear and heard over and over again how bad an idea it was. Now, on any given day I see nearly no one carrying his or her skis up to Hermit Lake. My experience in France seeing skiers skin allowed me back then to ignore what those in this area said but because, in the big scheme of things, I was only a beginner at skinning I wasn’t the best ambassador. Over time however people have seen more and more skinning and now it’s common on the trails.

The next step is taking that skill and increasing the steepness of the terrain you can skin and incorporating ski crampons. Given the type of snowpack and terrain we have here, ski crampons should be in the quiver of most of the people that ski in this area, yet they are rare. I have seen a few more people with ski crampons and using solid uphill kick turns and I am sure this will catch on. So if skiing in the mountains is your goal and you can turn’em going downhill, I would suggest working on these uphill skills:

1)   Quick transitions of all types

  • Uphill to down hill
  • Putting your ski crampons in and out of your bindings
  • Skinning to booting
  • Booting to skinning
  • Downhill to uphill

2)  Master the uphill kick turn

3)  Incorporate ski crampons into your skinning

4)  Learn to read terrain for the ascent

5)  Learn the power of your lifters and their downside

6)  Remember that you spend a lot of time climbing and take that into consideration when you choose your equipment. Skiing the heavy  gear may seem to make sense to a skier used to lifts but buying the heavy stuff reduces your uphill ability. Think carefully about that weight to stiffness balance. Remember you may very well be a much better downhill skier than an uphill one so skiing down with lighter gear may be easier than pushing heavy gear up the hill.


Posted by Marc Chauvin in Climbing and Avalanche Education

Upload a .KMZ File

I know people have seen my screen movies of maps overlaid onto Google Earth that are colorized so you can see how steep slopes 2g7tare. Many have asked me how to do that and I do teach the process in my navigation course but the hardest part is creating a .kmz file.  Once you have the .kmz file, opening it up in Google Earth is quite simple. Knowing that I did some research so I can put a .kmz file into my blog that you can download.  Once downloaded you can easily open it up with Google Earth.  I have included a short tutorial so that once you download the file you can have some fun with it in Google Earth.  The file has map coverage of the entire Presidential Range. I hope you enjoy it. Download the .kmz file here.
Make sure you have the latest version of Google Earth.

  • 0-20 Degrees White
  • 21-25 Degrees Light Green
  • 26-30 Degrees Dark Green
  • 31-35 Degrees Yellow
  • 36-40 Degrees Red
  • 41-45 Degrees Purple
  • 46-50 Degrees Blue
  • 51-90 Degrees Black


Here is a little tutorial

Posted by Marc Chauvin in Climbing and Avalanche Education, Maps

Graham Trail

The Graham Ski Trail is an established trail but is not on any maps that I can find.  Here is a map that has it as accurate as I could 490fmake it and should help you find it.  It is easier to find from the Gulf of Slides Ski Trail but from the Sherburne Trail it may take a little looking to locate it as its entrance is a little camouflaged. Here is a link to a GeoPDF
http://www.chauvinguides.com/wp-content/uploads/2017/01/graham.pdf

Below is the QR Code you can use to import the GeoPDF into Avenza Map App on your phone.

I am also including the Graham Trail GPX (Some browsers add a .xml extension, delete the .xml leaving only the .gpx extension before saving) and .KML file of the trail.

screen-shot-2017-01-03-at-9-01-06-pm

Posted by Marc Chauvin in Climbing and Avalanche Education, Maps

Avalanche Avoidance Strategies

There are a lot of ways to look at the avalanche problem.  There is a risk to oversimplification but equally there is a risk to fullsizeoutput_544complicating the hazard.  With that in mind how can someone that has limited experience or limited knowledge start the process of making a decision? Hopefully the bullet points below can help you.

  1. Know when you are in avalanche terrain. Know the angle of the terrain you are on or are about to go on and learn the common angle for avalanches in your area. As a standard the bullseye is between 33 and 43 degrees. So measure, measure, measure both with maps or in the field till you develop a good estimation ability. Remember an icy 40 degree slope can seem very steep and a 40 degree slope with softer snow may not seem very steep at all.
  2. Know the danger rating and believe it. Considerable and above is serious risk.  High and extreme should be avoided completely to the point it’s worth buying a ticket at the ski area.
  3. Know the avalanche problem and how that affects your ability to see the problem.  If it is New Snow there may be a variable based on elevation due to precipitation rate but where there is enough snow (10 inches new snow or more) the problem is widespread.  If the problem is Wind Slab learn to recognize where the wind has blown the snow based on the “look” of the snow and the direction the slope faces.  If the problem is a Wet Slab, well then if it is warm you have a problem.  If the problem is Cornice Fall, stay away from slopes with cornices. Persistent or Deep Slab problems are hard to manage so be conservative, again when there is a Persistent or Deep Slab problem stay on terrain less than 33 degrees and even below 30 degrees if the avalanche forecast is Considerable.  With the Persistent and Deep Slab you need to consider connected slopes and terrain above as well since those hazards are more prone to remote triggering. If those problems are widespread or very reactive go to the ski area, generally in those conditions the danger rating will be high or extreme.
  4. Watch the weather to see if it is stressing the the snow.  Is it getting warmer than the forecast expected, is the slope cooling rapidly, is the slope getting loaded by a local wind event not in the forecast or by a snow squall or snow shower not predicted.  Is something happening with the weather that the danger forecast and weather forecast did not expect.
  5. Is the avalanche survivable?  Look at the slope, if it were icy and you fell down it could you survive?  If not is there an alternative line?  This may seem extreme but if the slope slides you will fall down it.  Hitting rocks or trees or getting flushed over a cliff isn’t softer because you are surrounded by moving snow.  Harder to perceive, is if the bottom of the slope will collect snow such that you will be buried too deep to rescue, if you are buried by 6 feet or more of snow you’re likely going to be a fatality.
  6. Go one at a time through avalanche terrain and plan for a rescue.  Have the gear and have a strategy that will only bury one person and the others are in an effective place to get to the victim and uncover them in 15 minutes or less.

Notice there is very little snow science.  Snow is hard to know and your ability to collect data and evaluate it is limited particularly if you aren’t out every day or have limited experience.  I really hope these strategies help you.

Posted by Marc Chauvin in Climbing and Avalanche Education